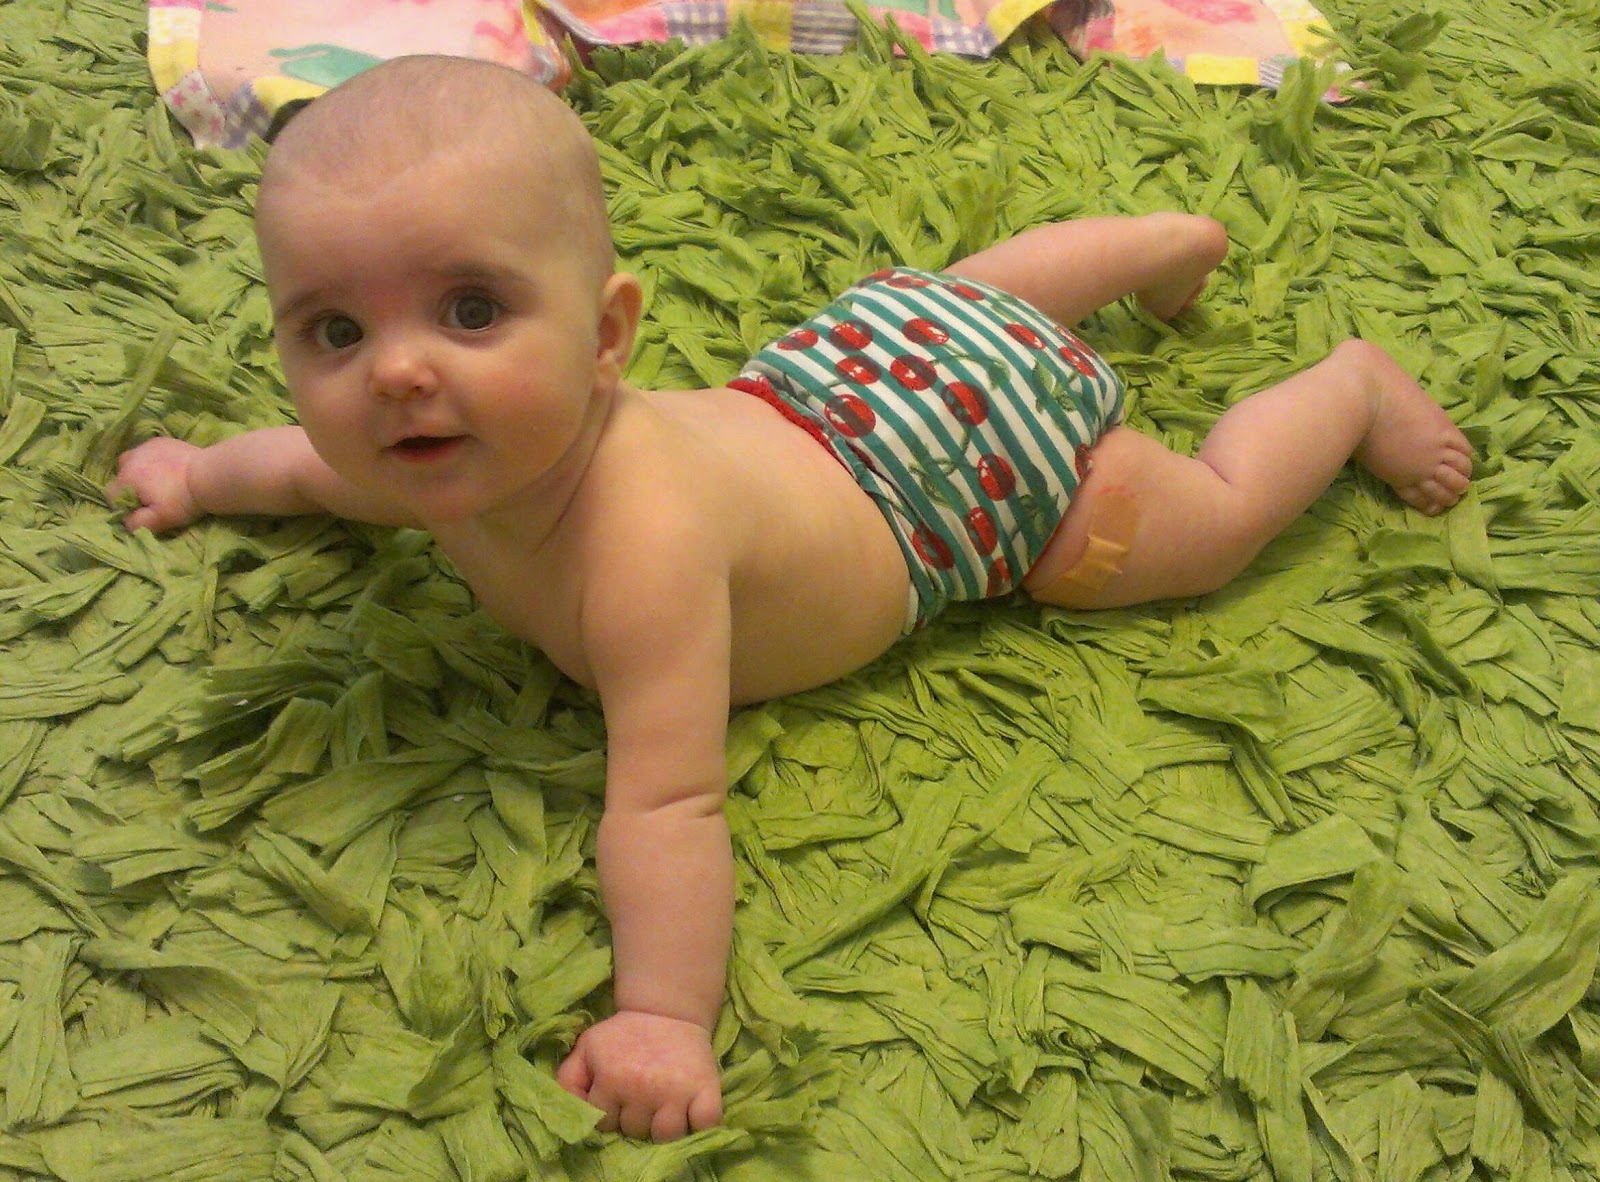
I currently have a post being feature on the Softbums blog about how to go about making the switch from disposables to cloth diapers.
If you haven't already, please check it out!
Monday, March 11, 2013
Monday, January 7, 2013
Apple Pear Spinach Puree
Ingredients:
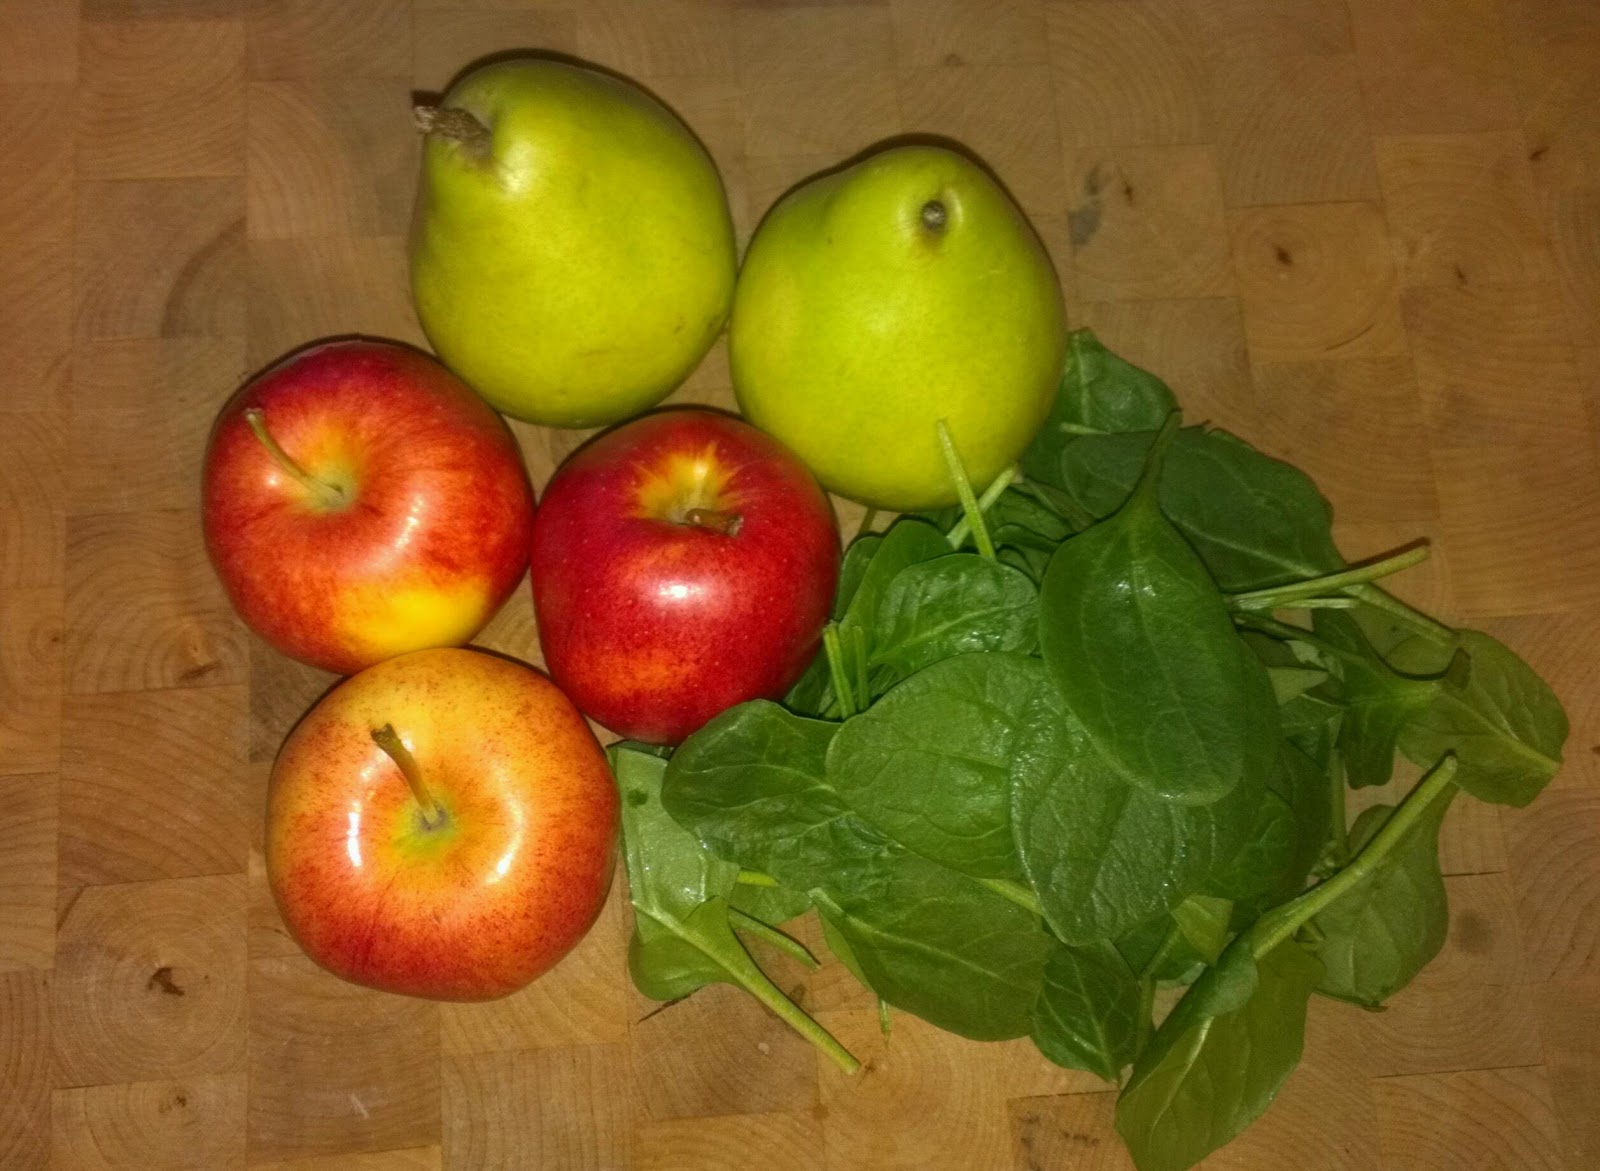
- 1 lb Apples (approx 500g)
- 1 lb Pears (approx 500g)
- A bunch of Spinach
- Water as needed to achieve desired consistency (or breast milk or formula)
Recommended for:
- Different sources have different recommendations for when to start baby on spinach, ranging from 6-12 months. Check with your doctor if you are concerned or unsure if spinach is right for you little one.
Yield:
- Approximately 20 oz
Directions:
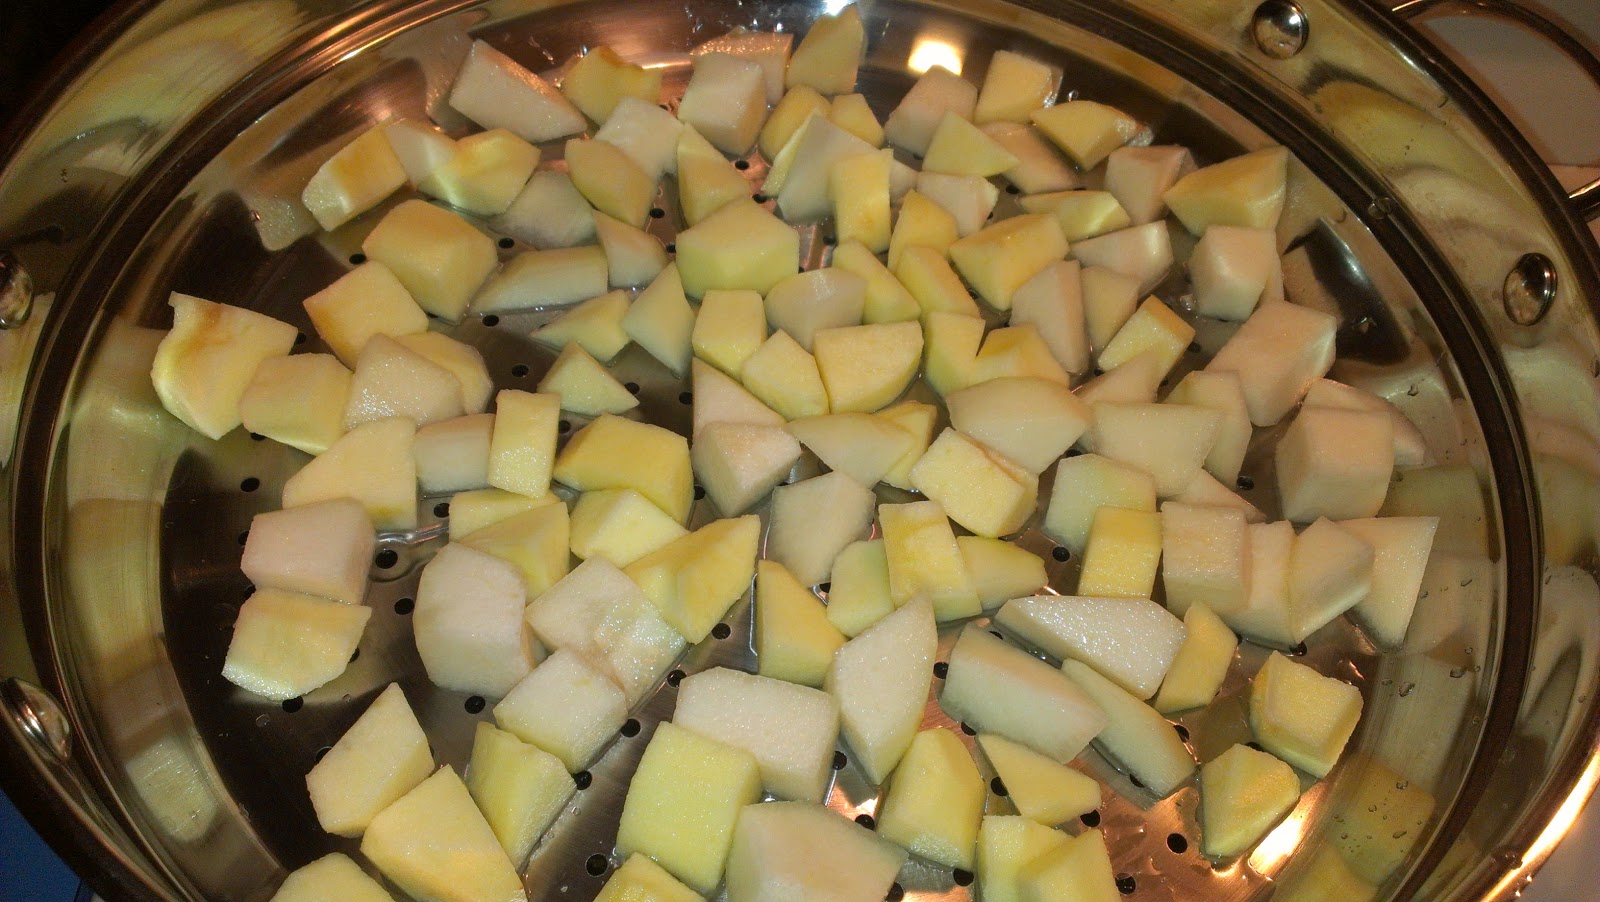
- Chop apples & pears into cubes & steam until tender. You can also boil or bake, whatever works for you.
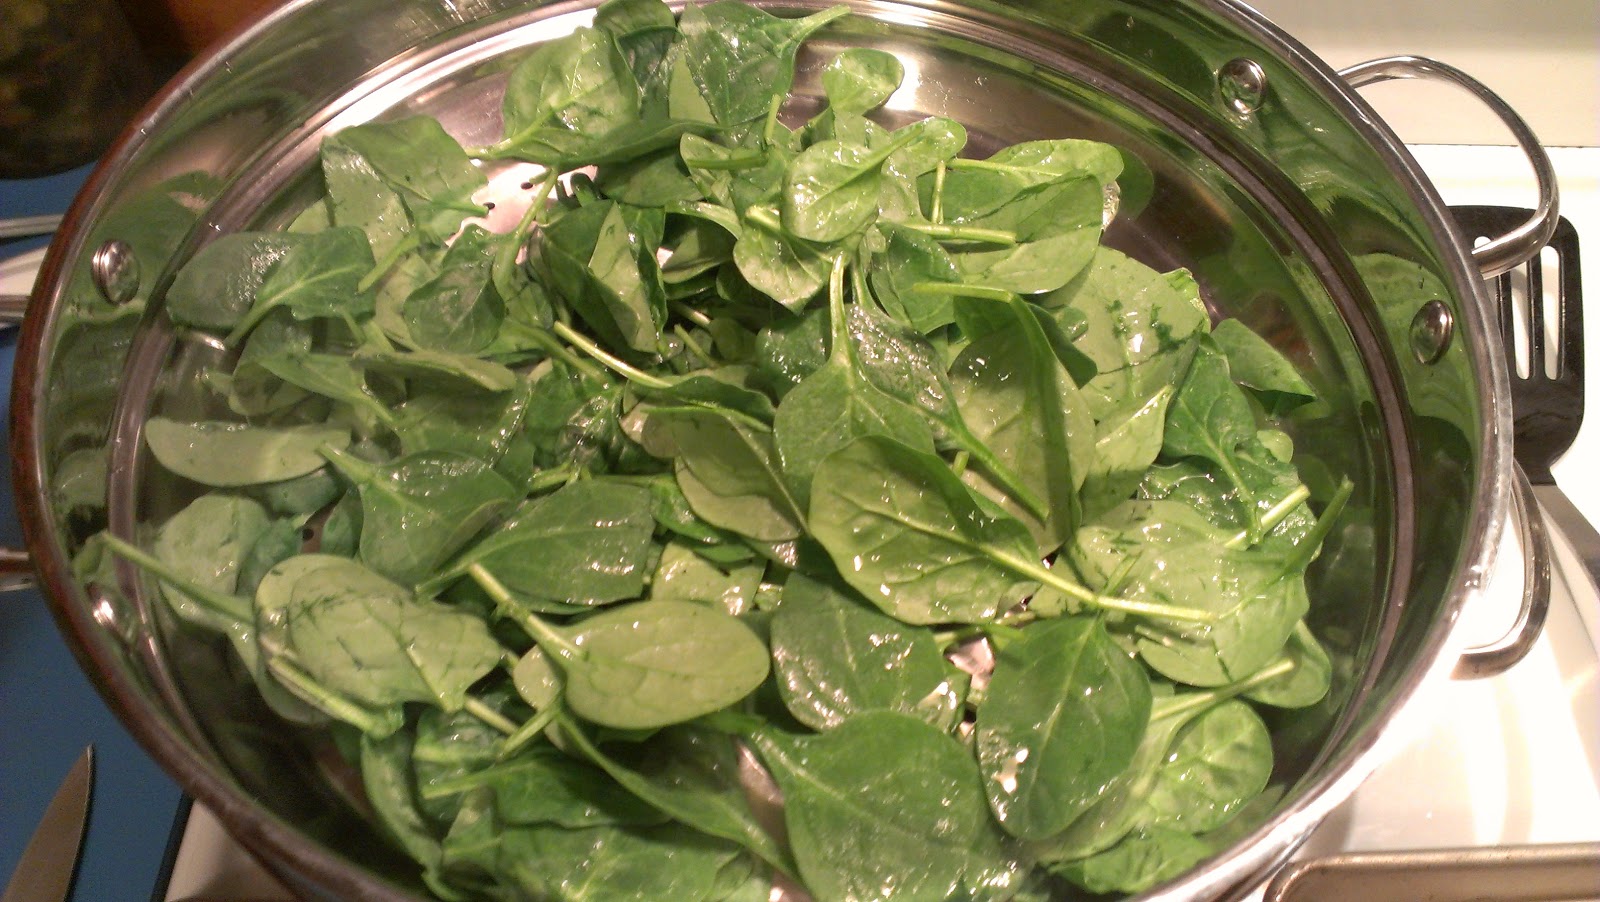
- Rinse spinach and steam until soft and somewhat shriveled.
- Puree! Add water as needed, you can use the water from steaming/boiling the apples & pears (do not use the water from the spinach, see note below), alternatively you could add breast milk or formula in the place of water.

- Spinach naturally has higher levels of nitrates than many other vegetables. Some of these nitrates come out in the water while steaming, and while the levels of nitrates are really unlikely to post any sort of risk to your child, so you should not reuse this water. For more information on the nitrate levels in spinach, I recommend checking out this article on Wholesome Baby Food: Myths and Facts about Nitrates and Homemade Baby Food.
Storage:

You can use whatever type of containers to have on hand to refrigerate or freeze your baby food, but there are a couple things that you should keep in mind:
- Any baby food you put in the fridge should be consumed within 2-3 days.
- Frozen baby food is optimal if consumed within 30 days, but can be used for up to 60 days.
- Keep baby food in small portions, as you will have to discard any left over from each feeding. This is because babies (and adults!) mouths are full of bacteria, once this bacteria touches the spoon and gets into the food it starts to grow. If you put this food back in the fridge the bacteria will continue to grow, and feeding this to your baby later may make them ill.
- Do not freeze puree that has been made with previously frozen breast milk. If you want to use breast milk in your puree, it is best to use fresh breast milk.
Tuesday, December 18, 2012
French Onion Pasta Recipe
I have been so busy working on making Christmas gifts lately that I haven't had much of a chance to post anything. While I have several baby food recipes that I need to type up, I haven't had the time. So, I thought I would share this [grown up] recipe that I found on Pinterest and tried. The recipe turned out great, and is awesome when you are sick of traditional/Italian style pasta dishes. The recipe calls for chicken stock, but I substituted vegetable to keep it vegetarian (for my husband). If you aren't vegetarian, I think it would be delicious with some chicken breast chunks mixed in for more of a complete meal.
The recipe is from the Stephanie Cooks blog, and all pictures are my own, from the first time I made it (and I made it again tonight!). All notes in parenthesis were added by me.
Source: Stephanie Cooks Original!
Ingredients:
2 cups of uncooked penne pasta
1 to 1.5 cup of chicken stock (or stock of your choice)
1 packet of Lipton's Onion Soup mix
1 shallot, finely diced
2 cloves of garlic, smashed
1/2 cup of marsala wine (wine is optional)
4 tablespoons of light cream
1 tablespoon of flour
1/4 cup of shredded mozzarella cheese (or more if you desire!)
1 tablespoon of EVOO
Directions
1- Cook pasta according to directions, set aside and keep warm.
2- In a saucepan, heat the EVOO. Add the scallions and garlic, stir continually until soft and fragrant.
3- Add the marsala wine, scraping the bottom of the pan to remove any stuck on pieces of onion. (Note: I did not use wine, instead I just increased the amount of vegetable broth)
4- Add the stock and soup mix packets, allow to cook on low for about 20 minutes.
5- Stir in flour, whisking continually until well incorporated and thickened.
6- Add the light cream, mix well.
7- Add the pasta to the sauce, stir well.
8- Pour into an oven safe dish. Top with the mozzarella cheese.
9- Set it under the broiler until the cheese gets a little crispy.
And enjoy!!
The recipe is from the Stephanie Cooks blog, and all pictures are my own, from the first time I made it (and I made it again tonight!). All notes in parenthesis were added by me.
 |
| All the ingredients |
Source: Stephanie Cooks Original!
Ingredients:
2 cups of uncooked penne pasta
1 to 1.5 cup of chicken stock (or stock of your choice)
1 packet of Lipton's Onion Soup mix
1 shallot, finely diced
2 cloves of garlic, smashed
1/2 cup of marsala wine (wine is optional)
4 tablespoons of light cream
1 tablespoon of flour
1/4 cup of shredded mozzarella cheese (or more if you desire!)
1 tablespoon of EVOO
Directions
1- Cook pasta according to directions, set aside and keep warm.
2- In a saucepan, heat the EVOO. Add the scallions and garlic, stir continually until soft and fragrant.
 |
| Sauteed shallot and garlic. |
3- Add the marsala wine, scraping the bottom of the pan to remove any stuck on pieces of onion. (Note: I did not use wine, instead I just increased the amount of vegetable broth)
4- Add the stock and soup mix packets, allow to cook on low for about 20 minutes.
 |
| Sauce simmering |
5- Stir in flour, whisking continually until well incorporated and thickened.
6- Add the light cream, mix well.
7- Add the pasta to the sauce, stir well.
8- Pour into an oven safe dish. Top with the mozzarella cheese.
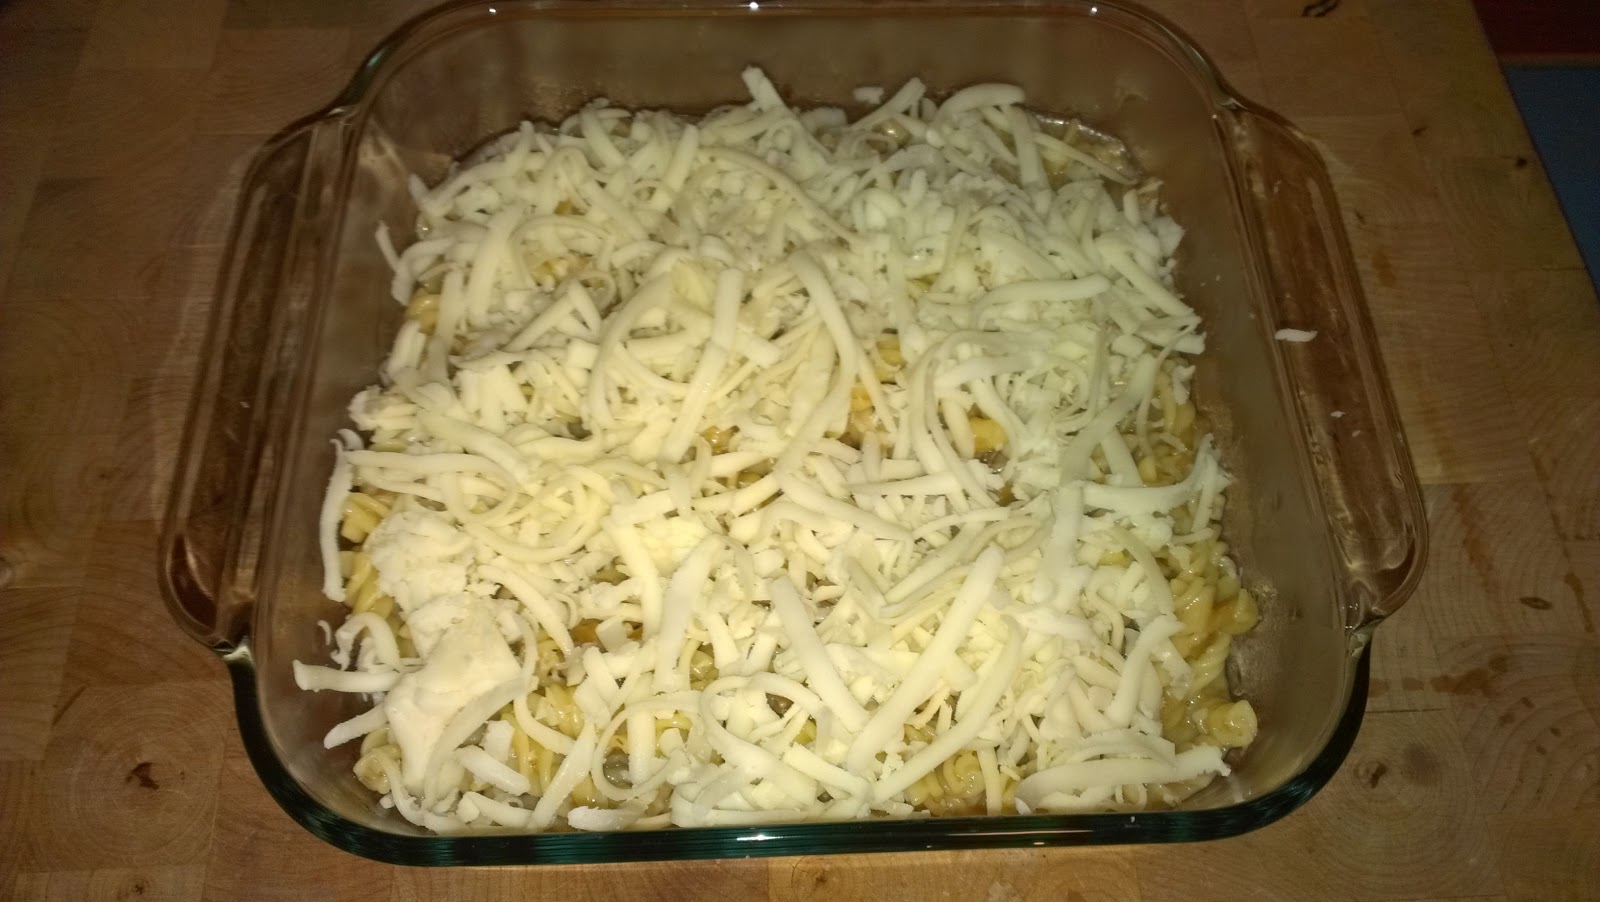 |
| Extra cheesy! |
9- Set it under the broiler until the cheese gets a little crispy.
 |
| Crispy cheese! |
And enjoy!!
Friday, November 30, 2012
Fluffy Fridays: Softbums Overload
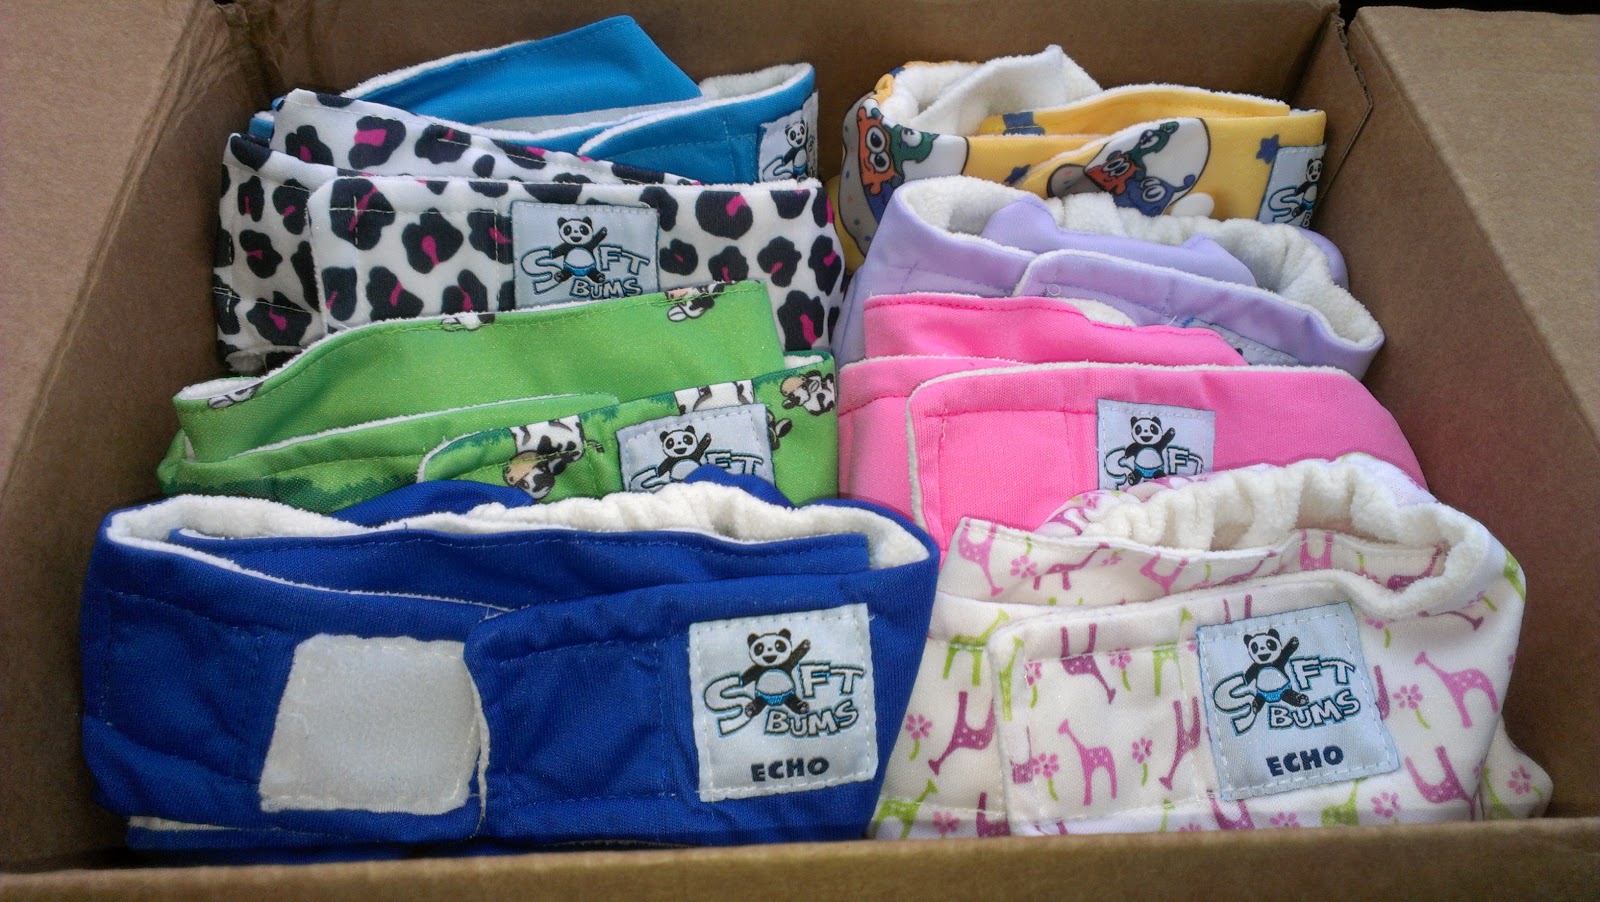
So, not a pic on the baby, but it is pretty in it's own right. A lot of Softbums I got off of the Cloth Diaper BST on Facebook. 4 Softbums Echos & 4 Softbums Omnis.
Tuesday, November 27, 2012
Sewing Project: Gingercake 3 Layer Clutch
Apparently I like sewing, who knew? I've done a few projects now, ranging from stuffed animals to diapers. I stumbled upon this pattern the other day and I figured I had to try it!
From Gingercake's site: "I originally created this wallet for myself since I wanted to have a piece that I could keep in my bag or just bring the wallet alone. I loved the idea of layers to make this wallet multifunctional- wallet, zippered pouch and notebook. I have been using this wallet for months now and I love it! It has all that I need and I love the versatility of carrying it in my purse or just using it as a clutch."
I am more or less a beginner, but I was able to figure my way around the pattern without much difficulty.
This was my first time working with a zipper, and it was not as difficult as I expected. But, if you do want to make this pattern you have to be sure that your sewing machine has a zipper foot.
One of my favourite features of this pattern is the notebook holder. The clutch holds a 5x7 spiral bound notebook. As someone who likes to take notes and make lists, I think this is awesome.
I am not really pleased with my fabric choices on this one. I really get overwhelmed when I go in the fabric store and see soooo much fabric at once.
 |
| Blurry pic of the cover. |
From Gingercake's site: "I originally created this wallet for myself since I wanted to have a piece that I could keep in my bag or just bring the wallet alone. I loved the idea of layers to make this wallet multifunctional- wallet, zippered pouch and notebook. I have been using this wallet for months now and I love it! It has all that I need and I love the versatility of carrying it in my purse or just using it as a clutch."
 |
| 6 Credit Card Slots |
I am more or less a beginner, but I was able to figure my way around the pattern without much difficulty.
 |
| A couple slots for cash, cheque book, coupons, receipts... |
This was my first time working with a zipper, and it was not as difficult as I expected. But, if you do want to make this pattern you have to be sure that your sewing machine has a zipper foot.
 |
| Zippered compartment. |
One of my favourite features of this pattern is the notebook holder. The clutch holds a 5x7 spiral bound notebook. As someone who likes to take notes and make lists, I think this is awesome.
 |
| Notebook compartment, with a pocket on each side. |
I am not really pleased with my fabric choices on this one. I really get overwhelmed when I go in the fabric store and see soooo much fabric at once.
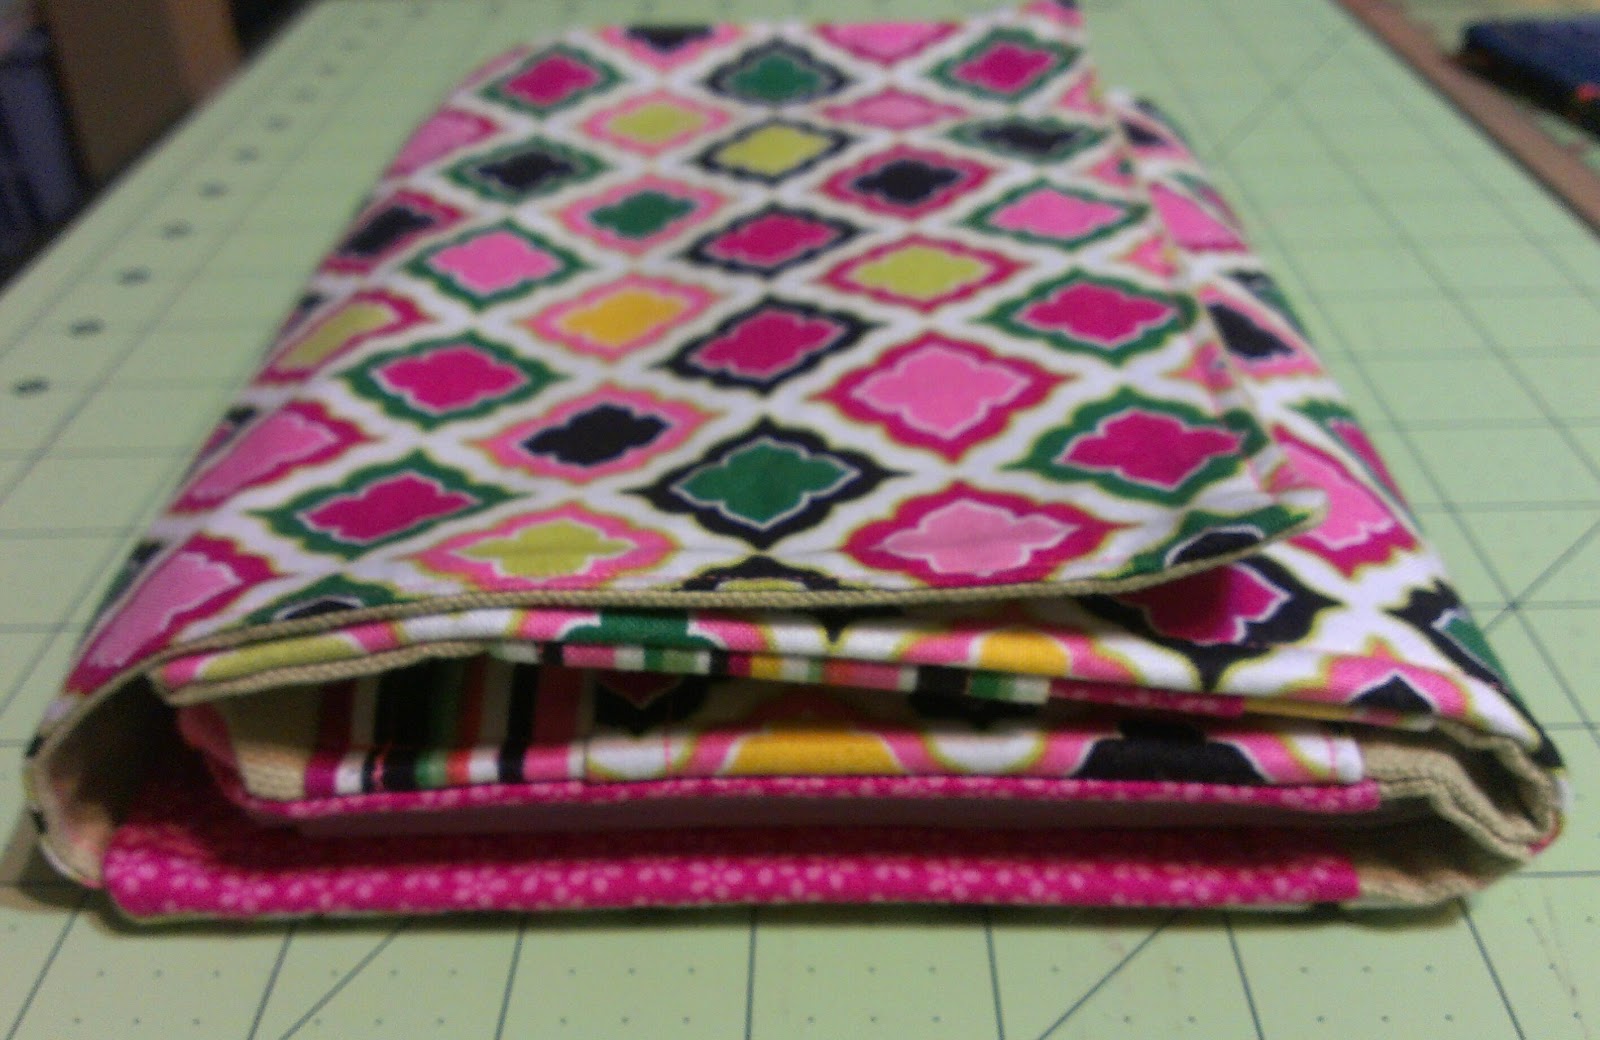 |
| Closed. |
Friday, November 23, 2012
Wednesday, November 21, 2012
Softbums Pod Absorbancy Tests
Previously I compared the absorbancy of the Softbums (old style) Super Pods to the Softbums Dry Touch Pod. Now that I have had a chance to accumulate a few more types of pods I thought I would continue with the comparisons.
As I had mentioned in my previous post, these results do not mean that you should expect your pod to hold X ounces of pee, it is just to determine a baseline to be able to compare the absorbancy of one pod to the next. I also want to note that pretty much all of my inserts have come to me pre-loved, so a brand new insert may perform slightly differently. Also, Sarah from Softbums noted "that absorbency has a lot to do with washer type, detergent used, and compression. Most people have better luck with bamboo, especially if their baby is older, or they have a front loader. Most top loaders can get the microfiber to it's total absorbency, but front loaders sometimes cannot. And, keep in mind that prepping might take up to 10 washes for the pods to get fully absorbent. So, if you are new to cloth diapers, or this brand, keep washing!!!"
On to the testing!
I started with the Small Dry Touch Mini Pod and Small Bamboo Mini Pod.
 |
| Left: Small Dry Touch Mini Pod Right: Small Bamboo Mini Pod |
Labels:
cloth diapers,
softbums
Subscribe to:
Comments (Atom)

